
13: Mining for Diamonds (Part 1)
 Learning Target
- Create, sculpt and pain Unity terrain objects
- Use normal maps and reflection probes to improve metallic materials
 Resources
Starter Models:
Starter Textures:
 Instructions
Step 1:
Create a new Universal 3D project in Unity. Be sure to give it a descriptive name.
Organize your Assets by creating some subfolders. For example:
-
- Audio
- Materials
- Meshes
- Prefabs
- Textures
I also organize further by adding subfolders within these subfolders. It helps when a project has lots of files.
Step 2:
Download the starter files and unzip the texture archive.
Then, import these files into Unity. Be sure to place them in the appropriate folders.
Step 3:
Add a new terrain object in Unity. If you click on in, you will see a new component called "Terrain".
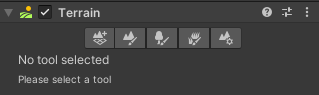
The 2nd button is called "Paint Terrain". With this tool you can:
-
- Raise or Lower the terrain
- Paint the terrain
Step 4:
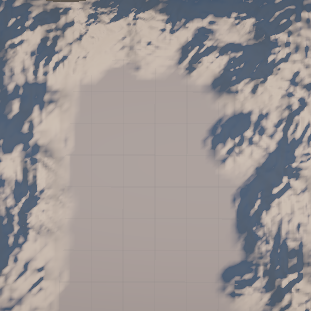
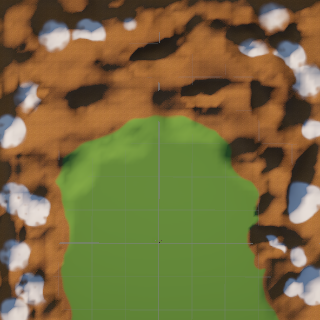
Use the height tools to create the basic shape of your terrain.
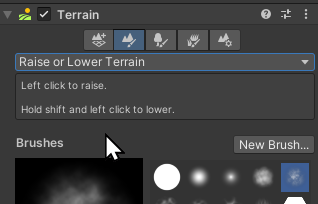
You'll want the area in the middle to be flat.
Step 5:
Now choose the Paint Texture tool. You'll need to add some Terrain Layers before you can paint. Click the Edit Terrain Layers... button to do this.
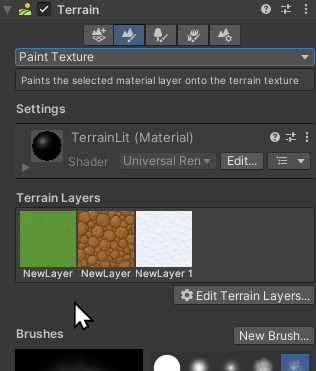
Once you have layers created, you can start painting. For example:
Step 6:
Create a prefab for the Drill. Then, create some materials for the drill. There are 6 different material slots available for you to use.
Since this is a machine, be sure some of the materials are metallic.

Step 7:
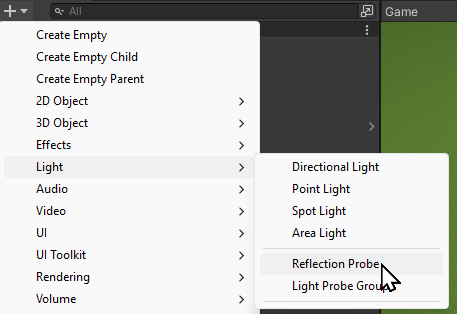
Metals don't look very good unless they have something to reflect. We can improve the appearance by adding a Reflection Probe to our scene.
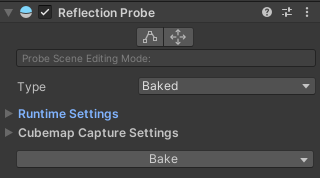
Make the probe as small as possible, but large enough to contain all of the objects that will have metallic surfaces.
Be sure to bake the probe.
 Grading
For grades A to D, all requirements need to be met for that grade band.
| Indicators and Collectibles | Letter Grade |
|
A+ |
|
A |
|
B |
|
C |
|
D |
| Doesn't meet above criteria | Reassigned |