
23: Survival of the Scared (Part 2)
 Learning Target
- Use tiles or tilemaps to create a level map
- Use layers and tiles in a map editor
 Resources
LDtk Map Editor
- Windows: LDtk 1.5.3 installer.exe
- Docs: LDtk: Interface Overview
- Video: YouTube: LDtk - Powerful 2D Level Editor
Game Resources
- Site: https://kenney.nl/
- Site: https://opengameart.org/
- Tilesets (CC0) - From the above sites
| Roguelike (99kb) |
Floor Tiles (4kb) |
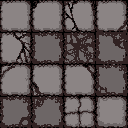
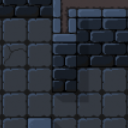
Wall Tiles (5kb) |
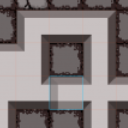
Dungeon 1 (10kb) |
Dungeon 2 (5kb) |
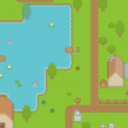
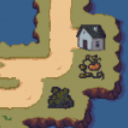
Pastoral (18kb) |
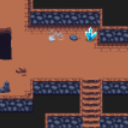
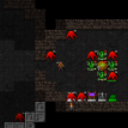
Dungeon Crawl (1.4MB) |
 |
 |
 |
 |
 |
 |
 |
| This file contains all of the dungeon crawl --> tiles as individual images so you can --> create objects in GDevelop --> |
Dungeon Crawl Tiles.zip (2.6MB) |
|||||
LDTK Tutorials
- Complete: 📓 Using LDtk with GDevelop
- Video: https://www.youtube.com/watch?v=u8r2m8XrsFU
 Instructions
Step 1:
Install the map editor:
- LDtk 2D Level Editor
Explore the interface of the editor you have installed for a few minutes before proceeding to the next step.
Step 2:
- Create a folder for your map project. This is not the same as your game folder!
- Create a new LDtk project and save it into the folder you created.
Step 3:
We'll need one or more tilesets to create our maps.
- Find a tileset that you would like to use to create your map using the sites in the resources above.
- Save the tileset image into the same folder as your LDtk project.
Step 4:
First, we need to load tilesets.
- Go to the Tilesets tab in LDtk
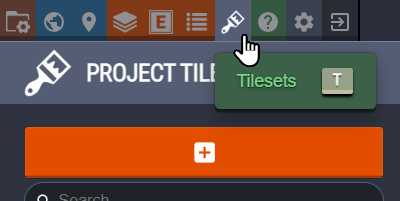
- Click the add button and choose the tileset image you want to use
- Give the tileset an identifier
- Set the tile layout size
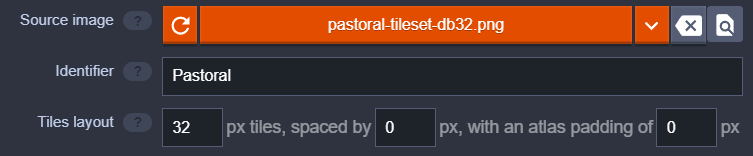
- Save your project! (CTRL+S)
Step 5:
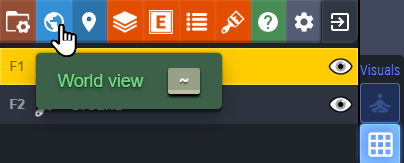
Now, lets create a map!
- Go the World View
- Set the size of your level. Be sure it is a multiple of your tile size.
- Set the background color or image of your level
- Save your project
Step 6:
In order to make our maps look good, we can use layers so that we can add details to the map without erasing existing tiles.
- Go to the Layers tab in LDtk
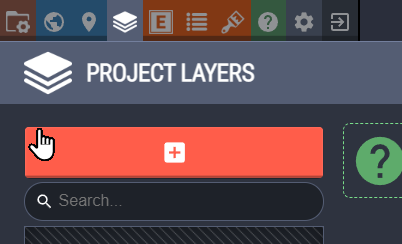
- Click the add button
- Create a new tile layer (or, you can watch the tutorial and learn some more advanced usage)

- I called my first layer "Ground"
- Add another layer
- I called my second layer "Buildings"
- Save your project
Create a new layer for each type of tile you will be using. Otherwise, you will delete the tiles already there (e.g. the ground). For example:
- Ground
- Ground Details
- Back Objects - for overlapping details behind others
- Middle Objects - most details would go in this layer
- Front Objects - for overlapping details in front of others
Step 7:
Now its time to start painting our maps.
- Choose your bottom layer
- Add the basic ground and terrain to your level
- Switch to the upper layer
- Add the buildings and other structures to your level
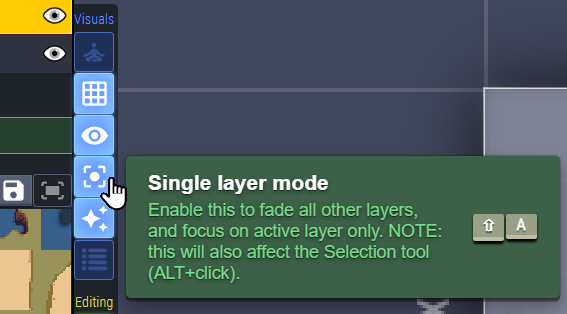
Hint: Sometimes, people will place things on the wrong layers accidentally. You can avoid this by turning on Single Layer Mode.
Step 8:
You can create as many map levels as you wish. LDTK helps you see how they line up with each other.
- Go to the World View
- Click the button to create a new level
- Create the next level by clicking on the correct location in the view
- Pick the desired spot for the new level
Step 9:
Be sure to save your map project. There are several ways to send this to GDevelop:
- As an image:
- As a full tileset:
- As an LDTK project:
- Save your project.
- Select File->Export As... Be sure to save it in your H: drive with a recognizable name.
- Select File->Export as Image... from the menu. Save it in a permanent location such as your H: drive.
You can choose the method you want to use in the next assignment.
 Grading
| Your submission... | Your grade... |
|---|---|
|
Emerging Developer
|
A+ |
|
Exceptional
|
A |
|
Good
|
B |
|
Reasonable
|
C |
|
Needs Improvement
|
D |
|
Insufficient
|
F |
| Scores may be rounded to the nearest whole number. | |