
18: Using a Web Engine
 Learning Target
- Setup a Wordpress account
- Customize the name, logo, homepage and theme of a WordPress site
- Create and publish custom pages for a WordPress site and ad various elements to the page
- Create custom menus for a WordPress site
 Resources
Generic Logos
 Instructions
Step 1:
You will receive an email notifying you that a WordPress site has been created for you. Find the email in your school email account and note the username and password.
Step 2:
Login to your WordPress site. Update each of these:
-
- Base Theme
- Site Name
- Site Logo
Note: Generic logos are provided in the resources. You can also find or create one of your own.
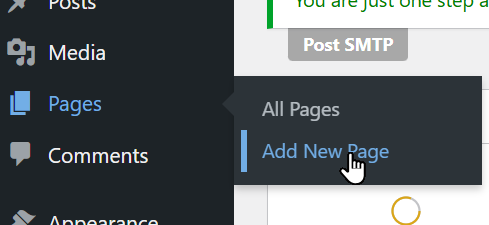
Step 3:
Create a custom page called "Home".
Your page should include things like:
-
- Headings
- Paragraphs
- Lists
- Tables
- Images
You can also add dynamic blocks or media files to your page:
-
- Latest Posts
- Calendar
- Page List
- Embedded Content
- Audio
- Video
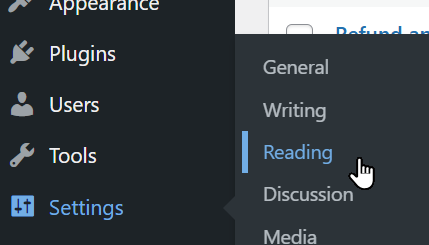
Step 4:
You will need to tell WordPress to use your new page as the homepage.
Go to the Reading settings:
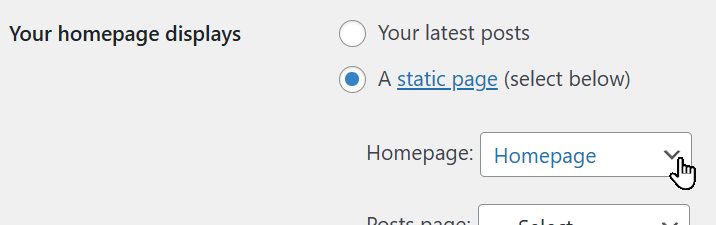
Choose a static page for your home page and choose the page that you created:
Step 5:
Add a new page that will be an image gallery.
Then, add some images to this page.
Note: Use images that are all related to each other in some way.
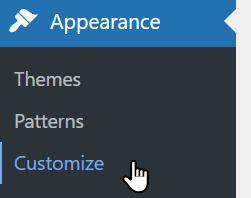
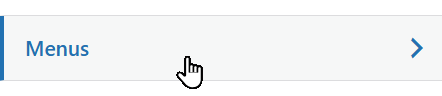
Step 6:
Create a custom primary menu for your site. If you are using certain themes, this option may not be available. You can temporarily switch themes and then complete this step.
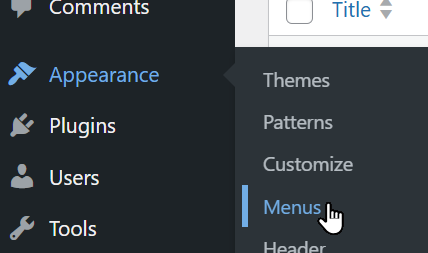
Give the menu a name.
Then, add your customized pages to the menu:
-
- Homepage
- Gallery
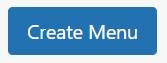
Delete any of the other pages from the menu. Then, you can click the create button.
You will need to tell your theme to use this menu.
Each theme is different, but you will likely see an option like this:
More to come!!