
10: Catch the Cue Ball (Part 01)
 Learning Target
- Use tiled sprites
- Use basic events and behaviors
 Instructions
Step 1:
-
- Open File Explorer.
- Go to the game programming folder you created in your H: drive.
If you forgot to do this in the last assignment, create this now. - Create a new subfolder for this game project.
You can call it "Catch the Cue Ball" or something like that.
Step 2:
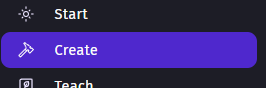
Open the GDevelop Editor and go to the Create menu.
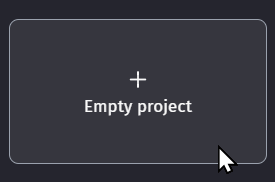
Click Create new game and

Choose the "Empty Project" option.
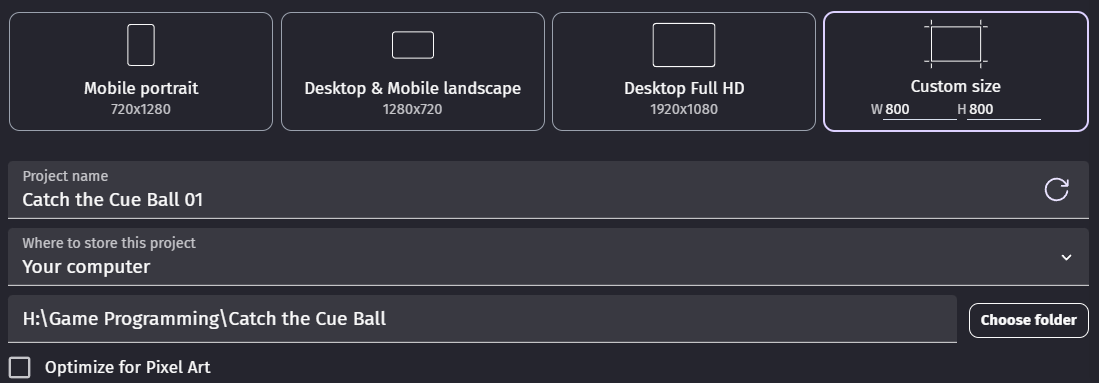
Save the project into your new folder as "Catch the Cue Ball".
Step 3:
You'll be adding a wall object and then creating a boundary around your scene.
To make this easier, we'll borrow an animation from the Asset Store and then create a Tiled Sprite.
-
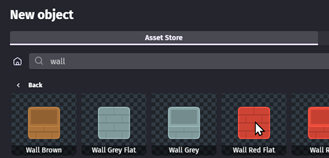
- Search for a wall or block from the Asset Store
Note: We won't use this object directly. We just need its animation image.
- Search for a wall or block from the Asset Store
-
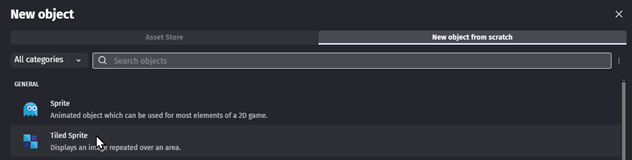
- Add a New Object from Scratch that is a Tiled Sprite
-
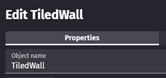
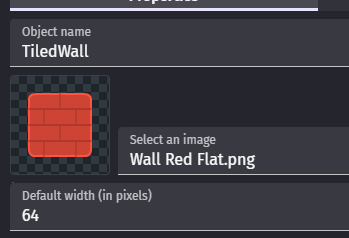
- Give your object a name that begins with Tiled. That way we will easily know it is a tiled sprite.
-
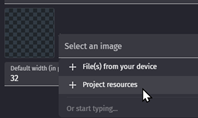
- Choose an image from your Project Resources. You should see your wall or block image.
-
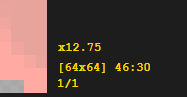
- Set the Default Width and Height to match the actual image size. If you don't know this, you can find it by choosing "Edit with Piskel" and looking for the canvas size near the bottom.
In this exmple, the size is 64x64
- Set the Default Width and Height to match the actual image size. If you don't know this, you can find it by choosing "Edit with Piskel" and looking for the canvas size near the bottom.
-
- Add walls to your scene
The following video shows how to create the walls around your scene.
Note: The video uses an older version of GDevelop. This version looks different, but the basic concepts are the same.
Step 4:
Add a "ball" object and make it bounce around the scene.
-
- Find a ball-like object from the Asset Store
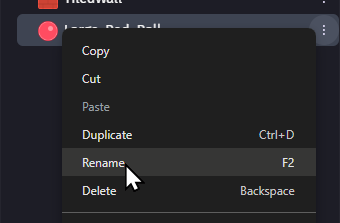
- Rename the object "Ball" so it is easier to type in code
-
- Open the Events tab for your scene

-
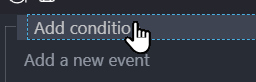
- Add your first event

-
- Add a condition to your event
-
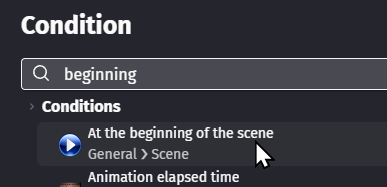
- Search for "beginning" and choose At the beginning of the scene
-
- See the video below for the remaining steps to make the ball bounce
Note: This version of GDevelop looks different, but the concepts are the same
Hint: Use the search bar to help find things
- See the video below for the remaining steps to make the ball bounce
Step 5:
Save your game. Then, preview the game to make sure it is working!
Make any changes that you think are needed. Then, save your project again.
Repeat this step as needed.
Step 6:
Take a screenshot of these 3 things:
-
- Your scene when you are finished
- Your complete events page (use multiple screenshots if needed)
- Your game while you are playing
 Grading
| Your submission... | Your grade... |
|---|---|
|
Extended
|
A+ |
|
Exceptional
|
A |
|
Good
|
B |
|
Reasonable
|
C |
|
Needs Improvement
|
D |
|
Insufficient
|
F |
| Scores may be rounded to the nearest whole number. | |