
15: An Adventure in Sculpting (Part 01)
 Learning Target
- Use a subdivision surface or multiresolution modifier
- Use various sculpting tools including grab and inflate
 Alternate Path
The instructions will start with a simple cube and progress from that point.
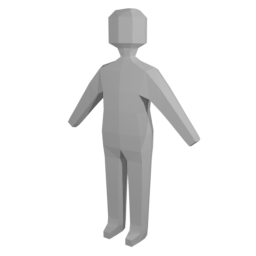
If you prefer to create a more realistic humanoid type of sculpture, you can start with this model rather than a cube.
However, your overall progress and effort will need to reflect this starting point.
 Video Tutorial
 Instructions
Step 1:
Create a new Blender project. Save your project now with a descriptive name so it is easy to find it later.
Cube: Keep the default cube in the scene and go to the next step.
Alternate: Delete the default cube and add the humanoid starter mesh to your scene before
Step 2:
Alternate: Enter Edit Mode and customize the basic height, weight and shape of the humanoid mesh before continuing.
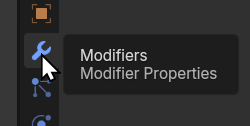
Go to the Modifiers property panel.
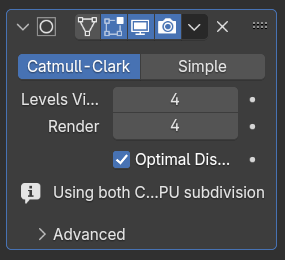
Add a new Subdivision Surface modifier:
-
- Click the Add Modifier Button
- Find the Generate category
- Add a Subdivision Surface modifier to your mesh and bump the division levels to 4.
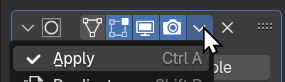
Then, we'll apply the modifier. This MUST be done before going to step 3 or you will get warning messages.
(
Step 3:
Switch to Sculpting Mode. To make things easier, you'll want to turn on X symmetry.

Also, turn on dynamic topology. The default settings will probably be fine, but you can adjust them if needed.

(
Step 4:
Alternate: Ignore the instructions below since you have arms, legs and a head already. Instead, start shaping the arms, legs and head using the inflate (deflate) tool. Think about knees, elbows and dominant features. Don't spend time on details yet.
Zoom out a bit and use the Grab tool to pull out basic arms, legs and a head. You can use the Inflate tool to give them the desired size and shape.
(