
16: An Adventure in Sculpting (Part 02)
 Learning Target
- Use various sculpting tools such as draw, draw sharp, crease, pinch, flatten, thumb, etc to add detail
- Create surfaces using sculpting tools such as scales, bumps, etc
 Instructions
Step 1: Open and Save
Open your sculpting assignment and save it with a different name.
Be sure to look at the various tools available to you before beginning. Some tools are better than others for certain types of features of a character.
Step 2: Features
Add features similar to these (see rubric for what is needed):
-
- Nose
- Mouth
- Eye Sockets / Eyes
- Ears
- Hands
- Feet
- Chin / Jaw
- Horns
- Tail
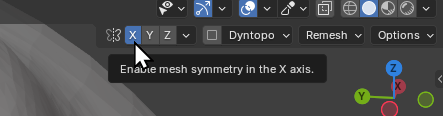
For objects that look the same left-to-right or front-to-back, you should make sure you have enabled X or Y symmetry.
Step 3: Detailed Features
Add details similar to these (see rubric for what is needed):
-
- Eyelids
- Fingernails
- Navel
- Nostrils
- Warts
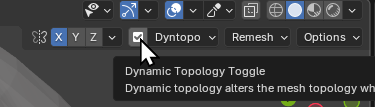
You can get smaller and more defined details by enabling Dyntopo and zooming in.
Warning: Every time you change out of Sculpt Mode, you will need to re-enable Dyntopo if you still need it.
Step 4: Additional Features
Add 2 more features or detailed features from either of the lists above. You can choose from either list based on what your goal is for your character.
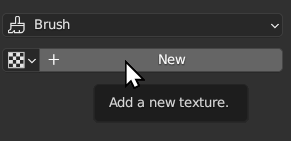
Step 5: Create a Texture
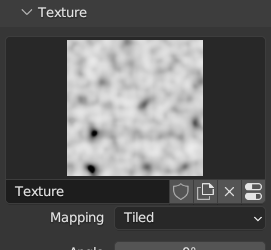
First, go to the Texture properties and create a new texture.
Choose the type of texture you want to use for your brush. It an be any type of texture including an image.
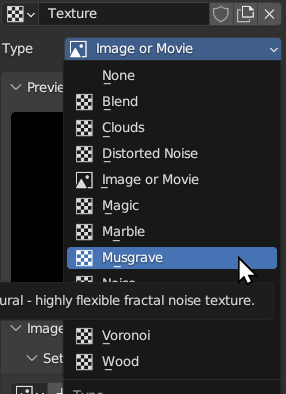
Adjust the size and angle of the texture.
Step 6: Create a New Brush
These steps are VERY important or you will change the behavior of the regular brush.
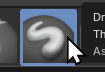
Choose the Draw brush to start.
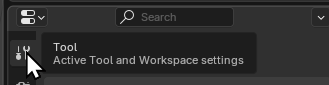
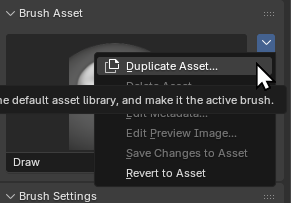
Go to the Tool Properties at the right of the screen. This will show the properties of the Draw brush.
Click the down arrow and then Duplicate Asset...
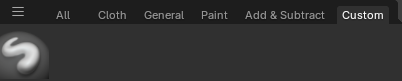
Give your brush a new name and also put it into a new Catalog so you can find it faster. I replaced Add & Subtract with Custom and pressed Enter.
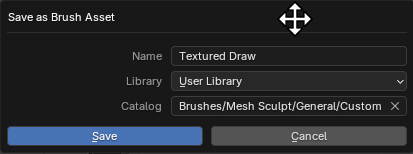
Now you should see a new tab called Custom with one tool inside of it.
Expand the Texture section of your new brush. You should see your new texture applied to the brush.
If not, you can choose the texture by clicking on the checkboard pattern.
Now, you can start sculpting with your new brush.
If the texture is too large or small, change the size of the brush and/or texture.
Note: Making the size of the brush larger causes the features to be smaller since you are repeating the texture more times. This is very counterintuitive at first.
You can repeat these steps to create as many custom brushes as you wish!
Step 7: Surface Details
Add surface details to your character. This could include:
-
- Scales
- Bumps
- Blobs
- Roughness
- Hair
- Eyebrows
- Wrinkles
- Stretch marks
- Rash
- Chicken pox or measles
- Warts
This doesn't need to cover the entire character. However, you will need to add enough details to be easily identified from your render(s).
 Grading
| Your submission... | Your grade... |
|---|---|
|
Extended
|
A+ |
|
Exceptional
|
A |
|
Good
|
B |
|
Reasonable
|
C |
|
Needs Improvement
|
D |
|
Insufficient
|
F |
| Scores may be rounded to the nearest whole number. | |