
17: Palletizing Boxes
 Learning Target
- Write a program that packs boxes on a pallet
 Instructions
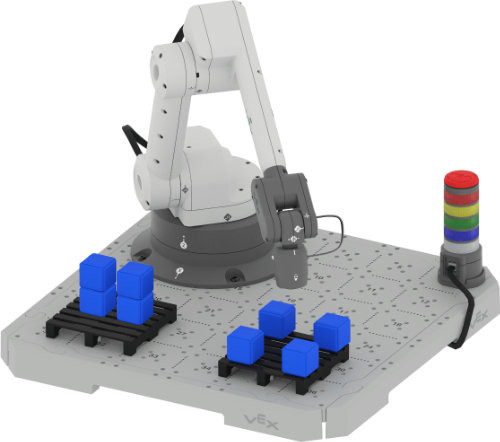
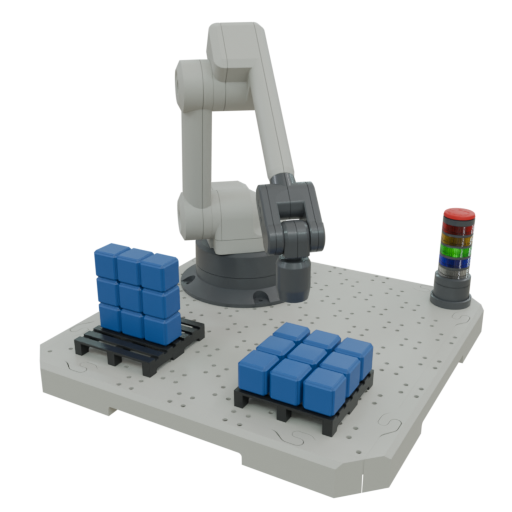
In this assignment, we will be moving boxes from a storage pallet (left) to a shipping pallet (right).
Step 1:
Mount the Magnet Tool to your robot arm.
Mount two pallets to the base (see above for an example).
Note:
The exact pallet positions are not important as long as you keep them the same throughout the assignment and the positions are reachable by the arm.
Step 2:
Open a new CTE Arm project. Rename and save the project with a recognizable name (e.g. JaneSmith_Palletizing).
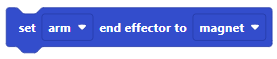
Be sure to set the end effector in your code.
Step 3:
Find the (x, y) location of each pallet position shown above. We know the z-position since the block and pallet have known measurements:
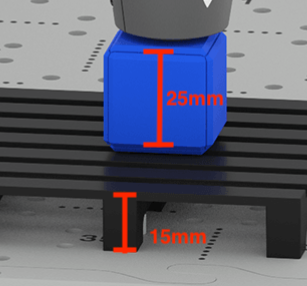
🔷🔷🔷🔷🔷🔷🔷🔷🔷🔷🔷🔷🔷🔷🔷🔷🔷🔷🔷🔷🔷🔷🔷
We'll start by picking up blocks from the storage pallet.
🔷🔷🔷🔷🔷🔷🔷🔷🔷🔷🔷🔷🔷🔷🔷🔷🔷🔷🔷🔷🔷🔷🔷
Step 4:
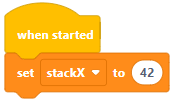
Create some variables to represent the information we know for the storage pallet:
 the x-coordinate of the leftmost stack
 the y-coordinate of the leftmost stack
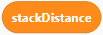 the distance between the centers of two stacks
Set the values of these variables using what you found in an earlier step:
Step 5:
Create a custom block to pick up "boxes" from the storage pallet (left).
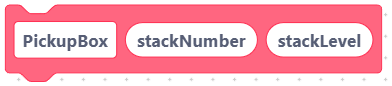
stackNumber: which stack to pick up from (use 0 for the leftmost stack)
stackLevel: which block in a stack (level 0 is the block setting directly on the pallet)
Write some code to move to the correct stacked block. We can use our custom block parameters and some math to move to the correct location. Here is a starting point:
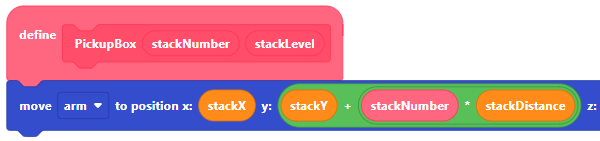
Then, raise the block high enough to clear other blocks that might be in the way.
Tip: You can create a variable for this clearance height so you can use it later.
Step 6:
Test that your arm can safely pick up any block from the storage pallet.
🔷🔷🔷🔷🔷🔷🔷🔷🔷🔷🔷🔷🔷🔷🔷🔷🔷🔷🔷🔷🔷🔷🔷
Now we'll shift our attention to placing blocks on the shipping pallet.
🔷🔷🔷🔷🔷🔷🔷🔷🔷🔷🔷🔷🔷🔷🔷🔷🔷🔷🔷🔷🔷🔷🔷
Step 7:
Create some variables to represent the information we know for the shipping pallet:
shipX: the x-coordinate of the box closest to (0, 0)
shipY: the y-coordinate of the box closest to (0, 0)
shipDistance: the distance between the centers of adjacent boxes in the same row or column
Set the values of these variables using what you found in the prior step:
Step 8:
Create a custom block to place "boxes" on the shipping pallet (right).
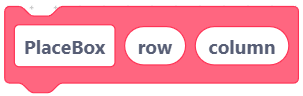
row: the row the block is in (row 0 is closest to the arm...row number increases as you move toward yourself)
column: the column the block is in (column 0 is closest to the arm...column number increases as you move to the right)
Similarly to the PickupBox block above, we can use math to find the exact location for the block based on its row and column.

The x- and y-coordinates can be calculated. Here is pseudocode for the x-coordinate:
calculated_row = (x-coordinate of the box closest to the arm) + (distance between adjacent boxes) x (desired row number)
The calculation for columns is similar.
Step 9:
Test that your arm can safely place a block at any of the positions in the pallet.
Step 10:
Use your custom blocks to move everything from the storage to the shipping pallet as a single program.
Have the teacher watch your robot complete the task. All group members should be prepared to answer questions about the code.
💻 Get a 6 digit code from the teacher and place it in your notebook in large/bold text
📷 Take a screenshot of the code attached to your When Started block(s)
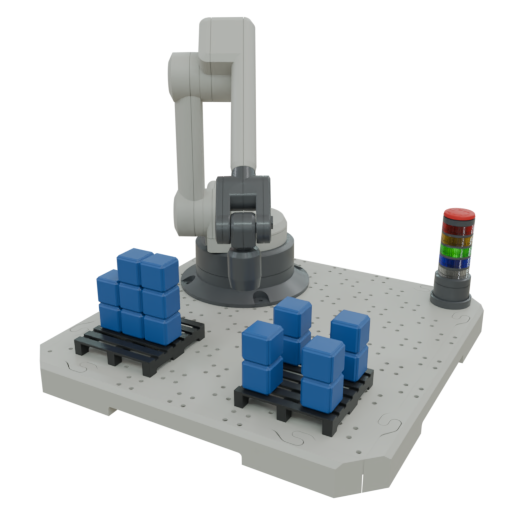
Challenge #1:
Be sure you have taken screenshots of your existing code before you continue.
Add new code that moves the blocks to the shipping pallet for the arrangement shown below.
🎥 Record your arm completing the task or get a 6-digit code from the teacher
Challenge #2:
Be sure you have taken screenshots of your existing code before you continue.
Add new code that moves the blocks to the shipping pallet for the arrangement shown below.
🎥 Record your arm completing the task or get a 6-digit code from the teacher